Rancorwood Dungeon Guide
Embarking on your journey through the Rancorwood Dungeon can be quite the adventure.
This guide will provide you with a comprehensive walkthrough to conquer this challenging 3-star dungeon and ultimately defeat its formidable final boss.
3-star dungeons in Throne and Liberty are known for their exceptional rewards that significantly enhance your progression into Tier 2.
However, they also present a steep challenge, especially if you are not fully equipped. It is recommended to equip a combination of maxed Tier 1 gear along with some Tier 2 items to maximize your chances of success.
As you navigate through the dungeon, you will encounter various objectives, basic enemies, and several mini-bosses that must be defeated in order to reach the main boss.
While this guide focuses on the final boss battle—the most difficult aspect—it's essential to keep in mind some key strategies as you progress through Rancorwood:
-
Eliminate any unavoidable trash mobs to avoid being overwhelmed.
-
Regularly check the right side of your screen for your current objectives and complete them as needed.
-
Most mini-bosses are straightforward, requiring you to maintain your health, avoid their attacks, and deal damage effectively.
-
Be sure to activate any resurrection gates you come across.
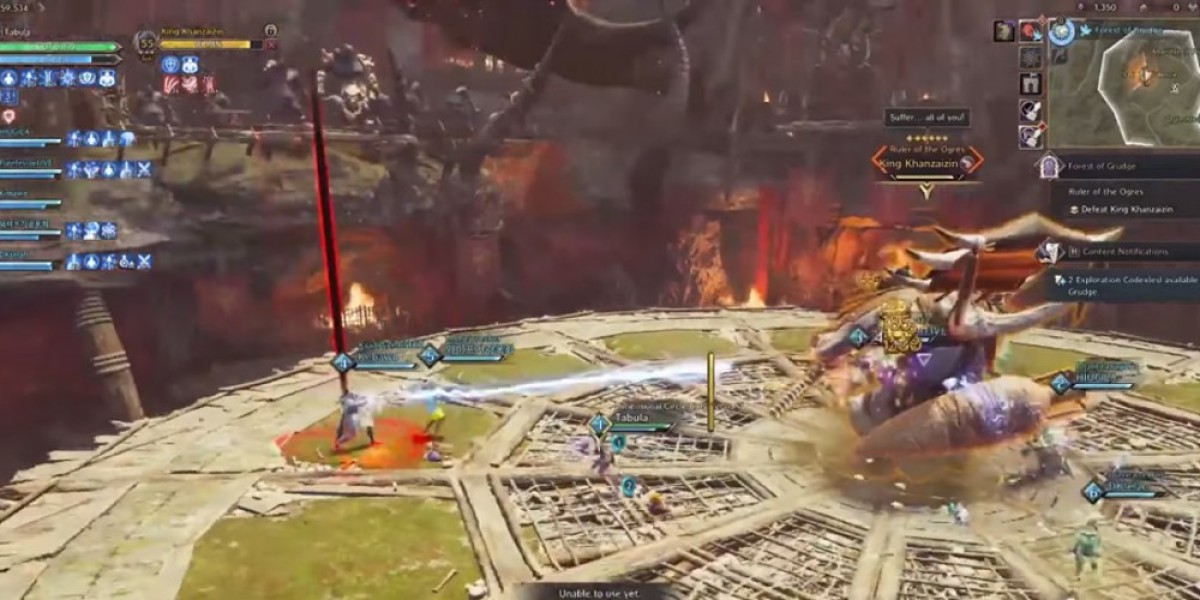
When the boss fight begins, prepare yourself for King Khanzai's fury attacks, which are based on dodge rolls.
After he unleashes these two attacks, he will then drop a small meteor at each player's position.
Note: This guide includes all mechanics associated with the dungeon. However, some of these mechanics may be simplified in the "base" version of the dungeon, with the full complexity introduced in the "dimensional trials" mode at higher difficulty levels.
Thus, the base version of Rancorwood may prove to be more manageable than anticipated after reviewing the mechanics outlined here.
Following the meteor shower, players will encounter the first significant mechanic of the encounter.
The player positioned farthest from the boss will be marked for a powerful meteor strike.
To mitigate damage, it is advisable to designate a healer and an additional ranged DPS to accompany the targeted player, allowing them to absorb the impact of the meteor when it falls.
The arena features a unique circular layout, reminiscent of a pizza with its segmented sections.
When a meteor strikes, it ignites a fiery patch on the specific slice where it impacts.
Rancorwood Dungeon Guide
Following this, the boss starts a comprehensive block assessment for the group. The initial block targets the central and inner areas of the platform.
The second checkpoint is located around the outer perimeter of the arena.
To ensure safety, always perform a dodge roll forward after the initial block check.
As the third block check initiates, both the inner and outer rings within the arena come under attack.
This time around, the flames that were ignited on one specific pizza slice extend to the two neighboring tiles.
A final block check takes place, but this time it's a conventional block rather than a rolling dodge.
To move on to the next mechanic, you must successfully block this attack.
To effectively counter the last fury strike, players should block it, which grants them access to the water buff found in the geyser situated beneath the arena.
It is advisable for all non-tank players to descend into the geyser to collect this beneficial buff.
Once you have secured the buff, return to the burning sections of the platform to put out the flames.
While only three players are necessary to extinguish the fire, it’s wise to have all five non-tank members acquire the buff as a precaution.
During this mechanic, if all five players fall below the threshold, the tank becomes marked by a red orb.
This red orb signifies that the tile beneath the tank will detonate, making it unavailable for the remainder of the encounter.
Consequently, the tank can strategically destroy tiles that do not obstruct the team's movement, while the other players focus on extinguishing the fire.
At this stage, the boss encounter essentially mirrors previous fights until you secure a victory, with the main gameplay elements already explained.
The notable variations include:
-
Two players will receive orbs that can shatter pizza slices.
-
Four tiles will ignite during the battle.
-
Players equipped with orbs should focus on extinguishing the burning tiles.
And that's everything! Congratulations on conquering the Rancorwood Dungeon – now enjoy your rewards and best of luck ahead.
This wraps up our comprehensive guide to the Rancorwood Dungeon for Throne and Liberty. For additional tips and guides related to Throne and Liberty, feel free to visit our official homepage!
Throne and Liberty Lucent: What are They and How to Get
Throne and Liberty Lucent serves as the premium currency in the game TL Lucent , essential for acquiring special items and participating in the Auction House. Players can use it to purchase exclusive skins and powerful equipment, thereby dramatically enhancing their gaming experience. To obtain TL Lucent, players can engage in various activities, such as completing quests and events or participating in daily challenges. For those seeking quicker access, platforms like LootBar offer a secure means to purchase Lucent with competitive pricing, ensuring that players can enjoy their new acquisitions without delay, although a brief holding period may occur for Auction House transactions.
Why Buy Throne and Liberty Lucent on LootBar?
If players are looking to top up their Throne and Liberty Lucent, the lootbar .gg game trading platform is a highly recommended choice. By choosing lootbar, players can take advantage of competitive pricing, which ensures they receive some of the lowest rates available on the market for buying Throne and Liberty Lucent. This is particularly advantageous for budget-conscious gamers who want to maximize their in-game purchases without overspending.
Moreover, lootbar not only offers great prices but also prioritizes account security, providing a reliable and safe environment for all transactions. This means players can buy Throne and Liberty Lucent with peace of mind, knowing their accounts are protected. The platform also boasts a user-friendly interface, making it easy for players to navigate and quickly find the Lucent they need to enhance their gaming experience in Throne and Liberty.
A Step-by-Step Guide to Buy Throne and Liberty Lucent on LootBar
To initiate your Throne and Liberty buy through the lootbar trading platform, first, determine the amount of Throne and Liberty Lucent you wish to acquire. Once decided, navigate to the website and click on "Purchase Now" to place your order. Next, head into the game and ensure that your character is above level 40 and has access to the Auction House. Select an item to list for sale, such as armor, weapons, crafting materials, or accessories, and set the total price for your listing. This is a crucial step that links your in-game activities with your purchase on the platform.
After listing your item, fill in the required information on the lootbar platform, including your region, server, item name, unit, and total price. A crucial part of the process is to upload a screenshot of the posted item, clearly displaying its characteristics and stats. This verifies the transaction and aids in processing your order. Once these steps are completed, your Throne and Liberty Lucent will be transferred to your account within a timeframe of approximately 15 minutes to 2 hours. Do note that any commission fees incurred during trades in the Auction House are not covered by Lootbar, so plan accordingly.